In this post I’ll talk about syncing Azure Active Directory with local Windows Server AD. Like most of my latest ports, we’ll do it in new portal where Azure AD feature is still in preview.
So we start with connecting to server that we’ll use for synchronization. Note that it’s not recommended to use your DC as sync server but you can if it’s only server you have or don’t have choice for some different reason.

Open your browser and log to Azure portal. Go to Azure Active Directory.

In new tile, click on ‘Sync with Windows Server AD’.

Click on ‘Download Azure AD Connect’ and wait for download to finish.

Start installer, check to agree to license terms and click continue.

Click on ‘Use express settings’.

Enter your Azure AD credentials. This must be an organization account and must have Global admin privileges.

Enter your local AD administrator credentials.

After everything is checked and ready, click on ‘Install’.

After few minutes, installation is complete, everything is set up and just click ‘Exit’

Go back to portal and click on ‘All users’. All users from your local AD should be synced and show in Azure AD.
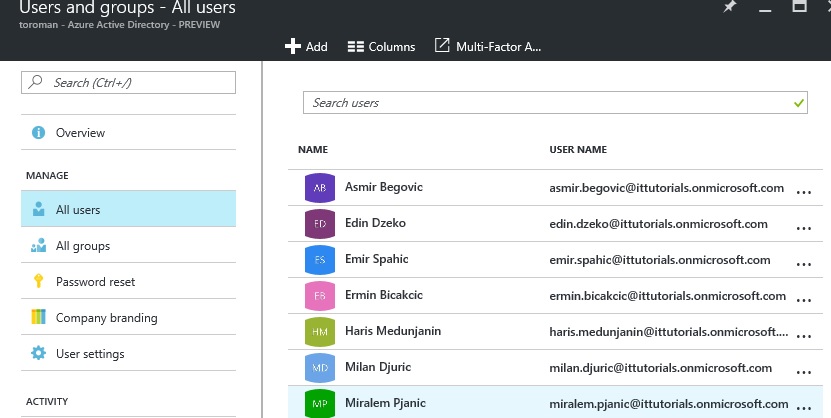
So users are synced and you can start using Azure AD for many different things but we’ll talk about options in other post.
Comments are closed.